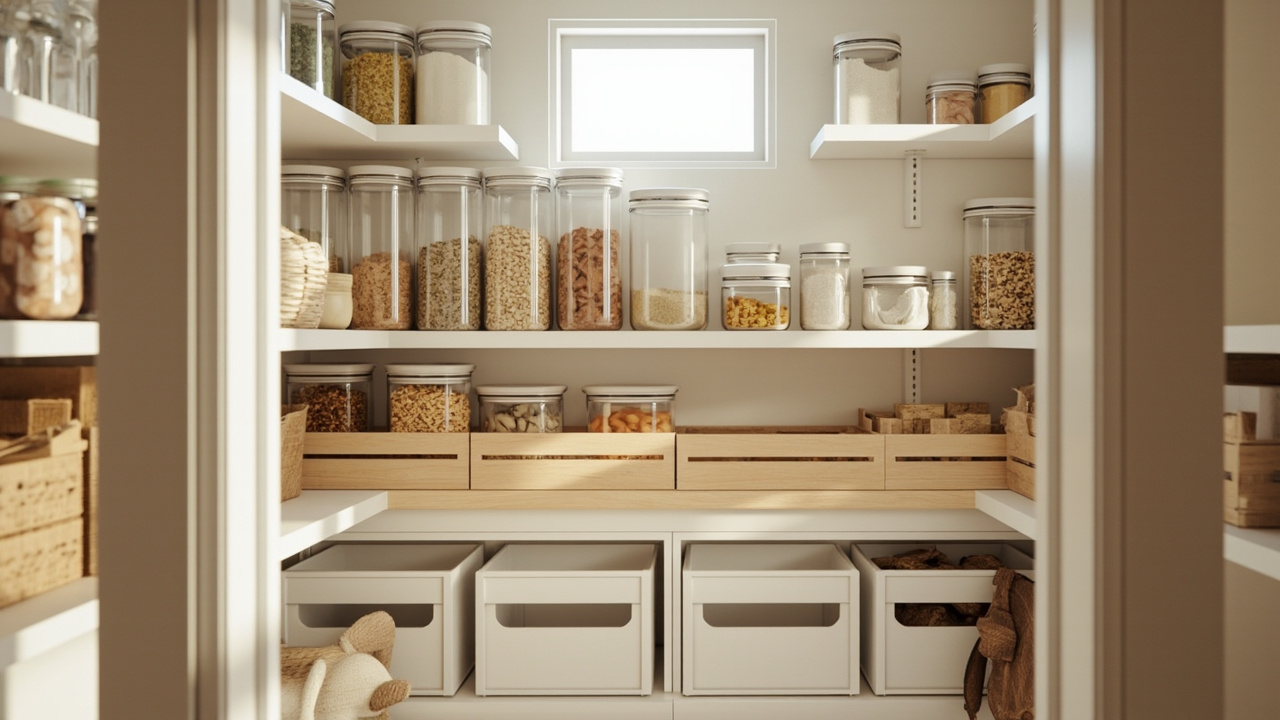
How to Organize a Kitchen Pantry That Actually Stays Tidy
A well-organized pantry saves time, money, and frustration. The difference between a pantry that stays tidy and one that falls apart in a week comes down to the system behind it, not the containers you buy. This guide walks through a four-step approach: declutter, zone, contain, maintain.
For broader kitchen ideas, see our kitchen organization hub guide. If you have a smaller space, our small kitchen organization guide covers constraints like limited counter area and shallow cabinets.
Why Pantry Organization Matters
Most households waste $1,500 to $2,000 a year on food they buy but never eat. A 2024 NRDC study showed the average American household throws out 31 percent of the food it purchases. The biggest culprit: pantries where expired items hide behind newer purchases, where duplicates accumulate unnoticed, and where nobody can find what they need at dinner time.
Beyond the food waste, an organized pantry cuts meal prep time by 10 to 15 minutes per day because you always know what is in stock. The two systems this guide draws from are the decluttering fast system for the pre-organization cleanup phase and the KonMari decluttering method for keeping only items that fit how you actually cook.
Step 1: Declutter Before You Organize
This is the step most people skip, and it is why most pantries stay messy. Before buying any containers, take everything out. Check expiry dates on cans, jars, and boxes. Group duplicates — most households discover three or four half-empty boxes of the same pasta lurking in the back.
Donate unopened non-perishables to a local food bank. Recycle expired items. Compost any open containers of stale food. Most pantries cut their item count by 30 to 40 percent in this step alone. For a more thorough version of this step, see our complete pantry declutter checklist.
Step 2: Create 5 Pantry Zones
Zones are the secret to long-term pantry success. Instead of treating the pantry as one undifferentiated space, divide it into five functional zones based on how you actually cook:
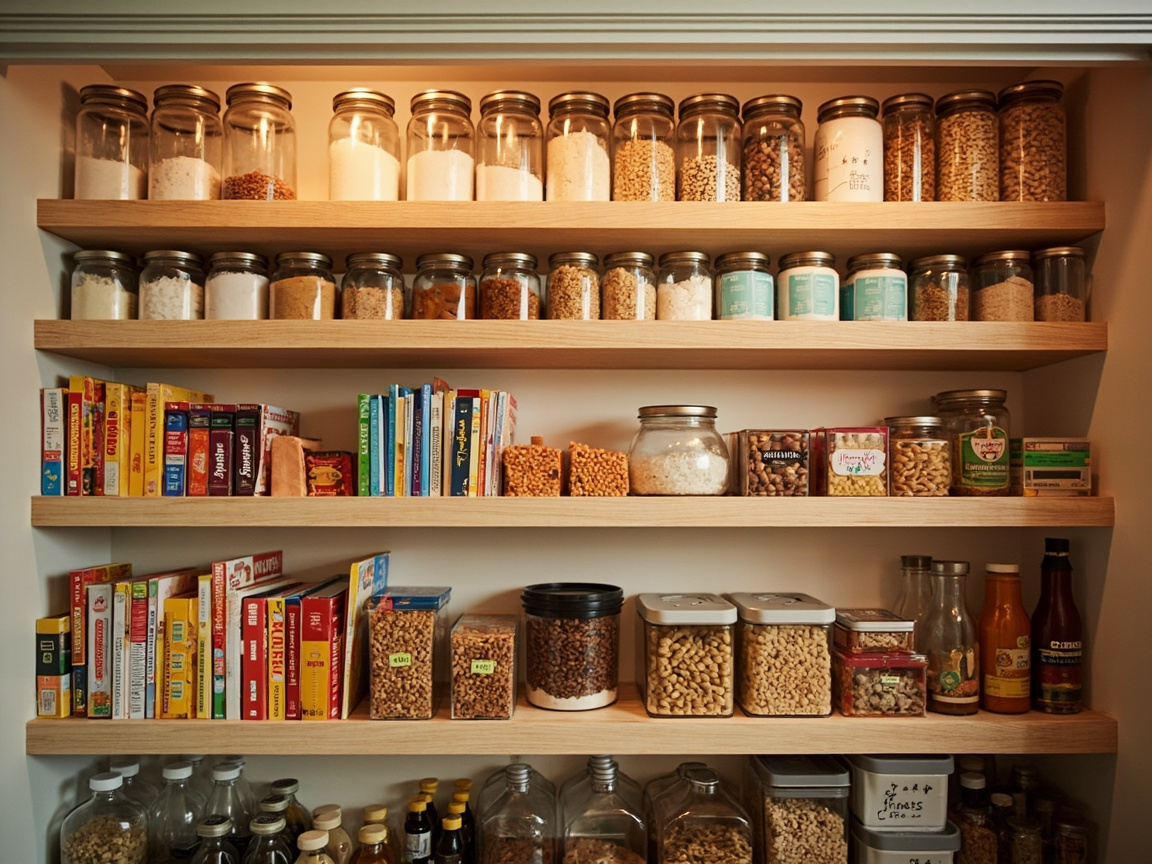
Zone 1: Baking & Dry Goods
Flour, sugar, brown sugar, baking soda, baking powder, vanilla extract. This zone should sit at eye level if you bake weekly, or in a less accessible spot if you bake monthly.
Zone 2: Canned Goods & Jarred Items
Group by cuisine — Italian (tomato sauce, pasta), Mexican (beans, salsa), Asian (coconut milk, soy sauce). Use a tiered rack like the Simple Houseware Stackable Can Organizer Rack so you can see every label without digging.
Zone 3: Breakfast & Cereal
Cereals, oatmeal, granola bars, breakfast bars. If kids grab breakfast themselves, this zone should sit at their reach level. For tight kitchens, our small kitchen organization guide covers stackable-bin solutions that work here.
Zone 4: Snacks & Kids Items
Keep these at kid-height and in clear bins so children can spot their options without rummaging. Mix of sweet and savory prevents snack boredom. Use clear bins like the iDESIGN organizer set so kids find what they want without dumping everything out.
Zone 5: Condiments & Oils
Most-used condiments at front, less-used at back. Olive oil and cooking oils belong in a cool, dark spot — never above the stove where heat degrades them.
For more on choosing the right bin type for each zone, see our how to choose storage bins guide.
Step 3: Choose the Right Containers
The biggest mistake here is buying containers before knowing your pantry dimensions. Measure your shelf depth, height between shelves, and shelf width first. Then match containers to those measurements.
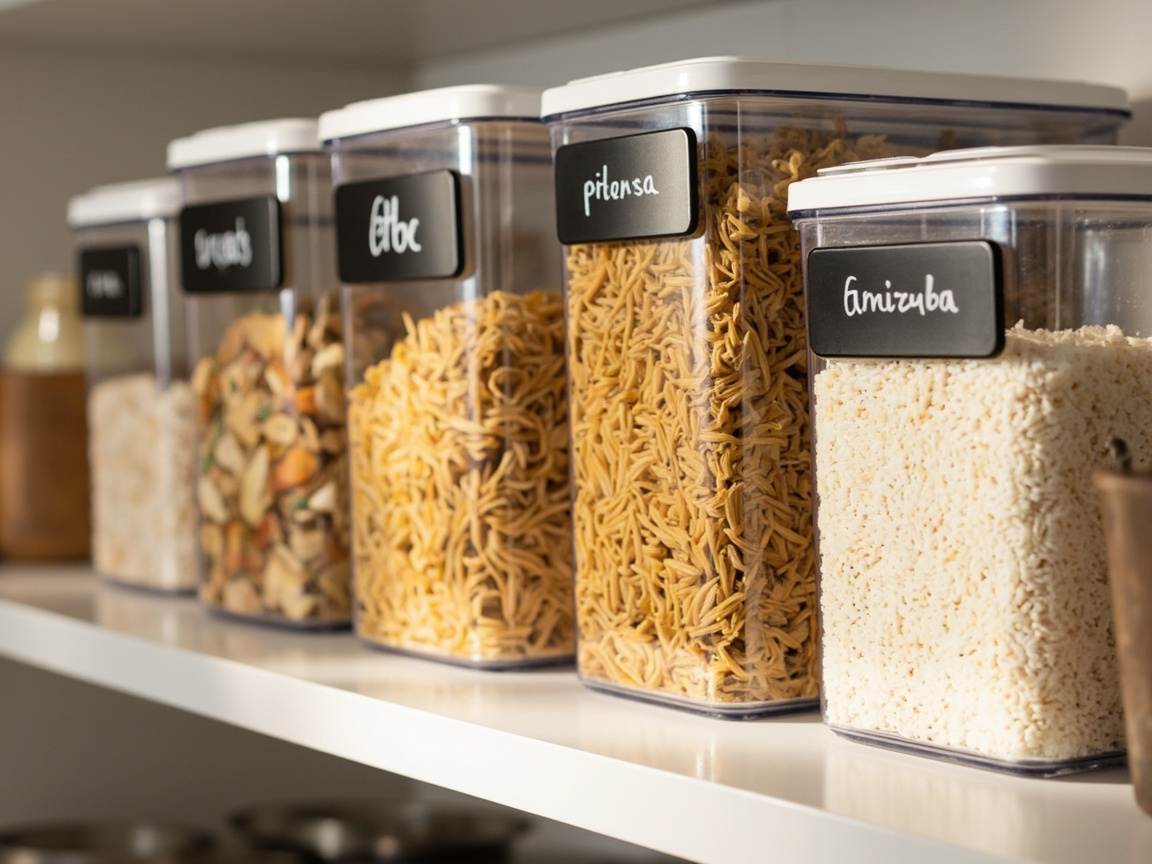
Clear bins work best for visibility — see contents without opening. Opaque bins create visual calm if your pantry looks messy when open. Stackable bins maximize vertical space. Tiered racks are essential for cans and spices.
We compared the trade-offs in plastic bins vs fabric bins — for pantries, plastic wins on hygiene and visibility. We also broke down clear bins vs opaque bins for each room type.
The mDesign Plastic Stackable Food Storage Bins are a workhorse — they nest when empty, stack when full, and the clear plastic means no labeling needed for basic items. Pair them with ONUPGO Chalkboard Labels (180-piece set) for bins holding items that rotate over time (rice one month, lentils the next).
If you are working with a tight budget
Step 4: Maintain Your System
A pantry system without maintenance fails within two to four weeks. The maintenance schedule that actually holds up:
- Weekly: 5-minute visual scan, put strays back in their zone.
- Monthly: 30-minute rotation — bring forward items expiring soon.
- Quarterly: full expiry audit, donate anything unused for 6+ months.
Pair your pantry with our spice organization ideas if you cook a lot — keeping spices adjacent to pantry items speeds up meal prep noticeably.
The Vtopmart 24-piece airtight set covers flour, sugar, cereal, rice, pasta, and snacks in one purchase. For corner-cabinet blind spots, a set of lazy susan turntables brings back-row items to the front. For cereal-and-grain freshness, the Zevro dry food dispenser handles daily pouring without fumbling a bag clip.
Common Mistakes to Avoid
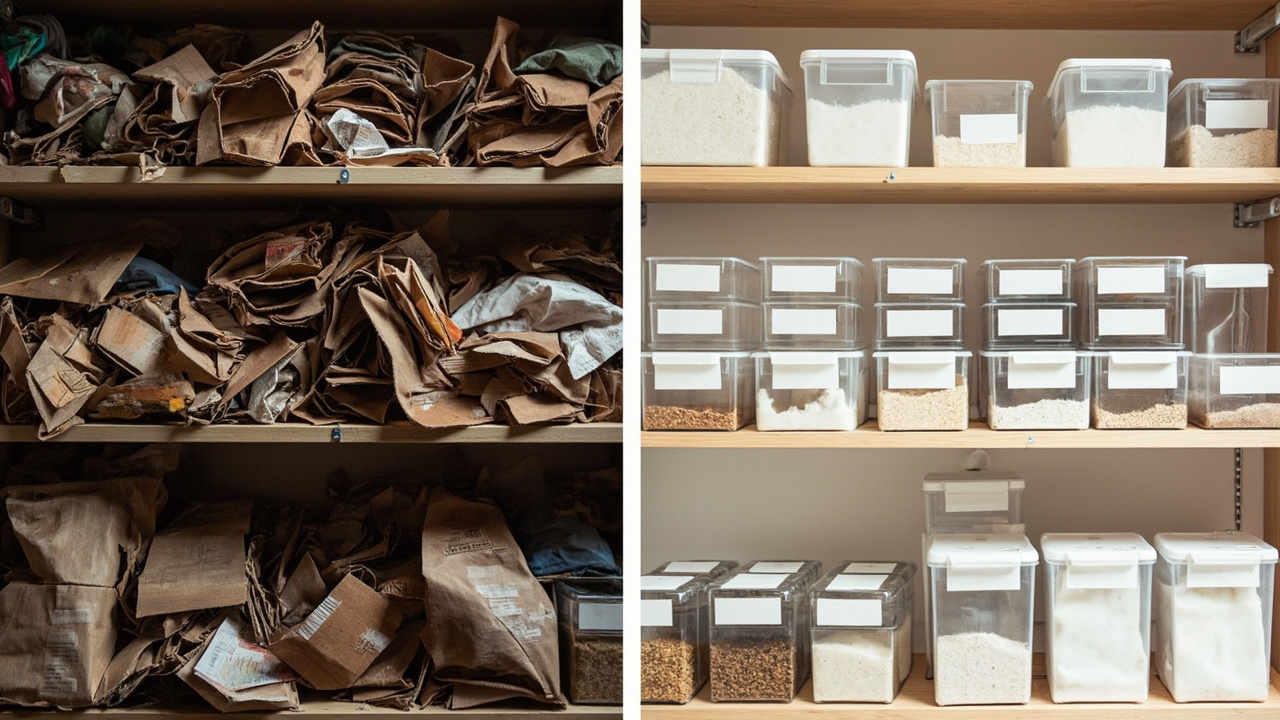
These come from real Reddit threads in r/organization and r/decluttering, plus the most common one-star reviews on storage products:
- Buying containers before decluttering — you will buy the wrong size, every time. Always declutter first.
- Too many tiny zones — over-compartmentalizing (8+ zones) makes maintenance impossible. Stick to four to six zones.
- Forgetting vertical space — most pantries waste 30 to 50 percent of vertical space above the top item. Use stackables.
- Labeling nothing — within two weeks, no one in the household remembers the system. Label every zone.
- Skipping the maintenance routine — without the weekly scan, the pantry returns to chaos in 14 days on average.
Constraint Guide: Adapting to Your Situation
These if-then rules cover the most common pantry constraints:
- if renting and cannot drill walls → use tension rod shelves and 3M Command hooks instead of mounted organizers.
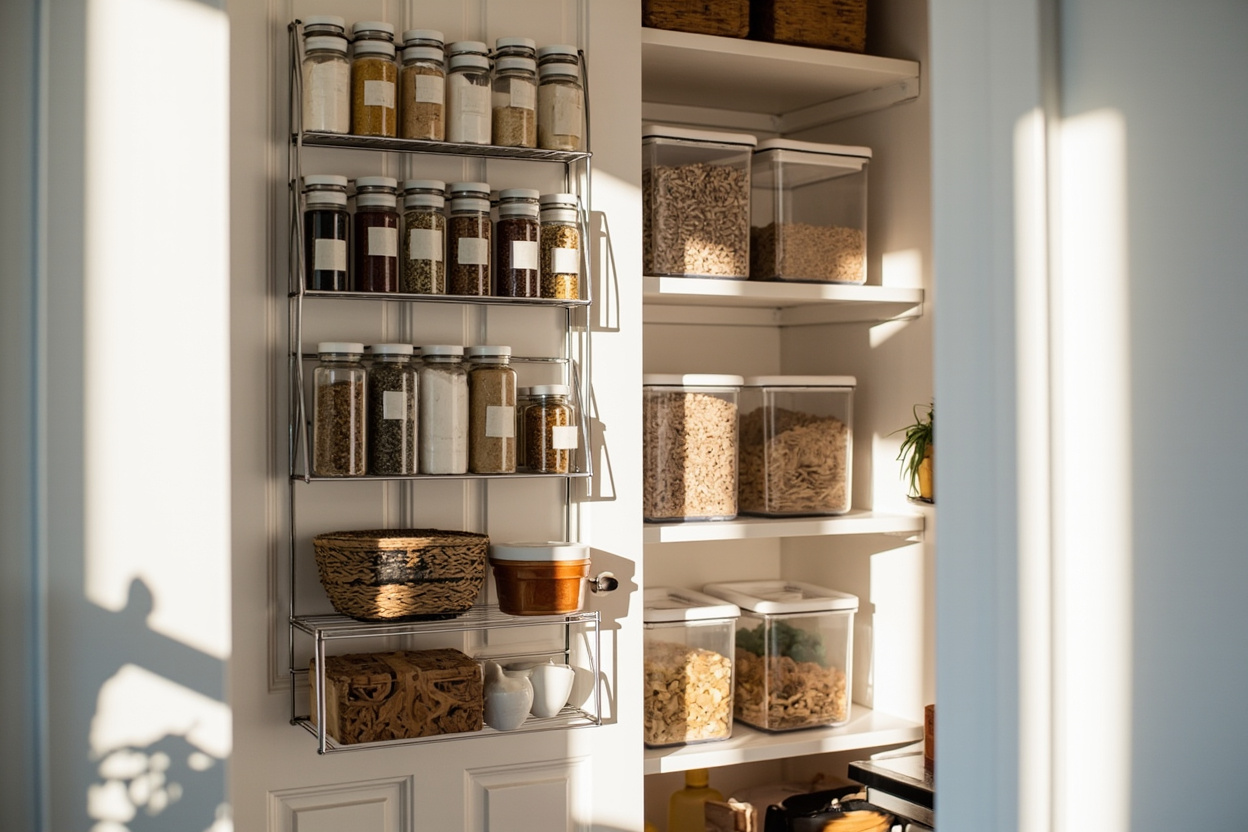
- if pantry is smaller than 4 square feet → invest in an over-door organizer like the Moforoco 9-Tier model plus stackable bins for vertical space.
- if kids can access the pantry → keep kid-snacks on lower shelves in clear bins; never store cleaning supplies in the pantry.
- if you keep lots of canned goods → use a tiered can rack to prevent the avalanche when you reach for one can at the back.
- if you buy in bulk → invest in large airtight bins (5 to 10 gallon) like the mDesign Plastic Stackable Food Storage Bins with chalkboard labels for refills.
- if your kitchen runs hot → avoid plastic bins near the stove; use metal or glass for items stored above the cooking zone.
For more on container material trade-offs, see our clear bins vs opaque bins comparison.
Conclusion
A kitchen pantry that stays tidy is not about buying the most expensive organizers. It is about the four-step system: declutter, zone, contain, maintain. Start with one shelf this weekend and expand over the next month.
For related room-level guides, see our kitchen organization hub guide for the full kitchen system, or our complete pantry declutter checklist for a printable version of this approach.