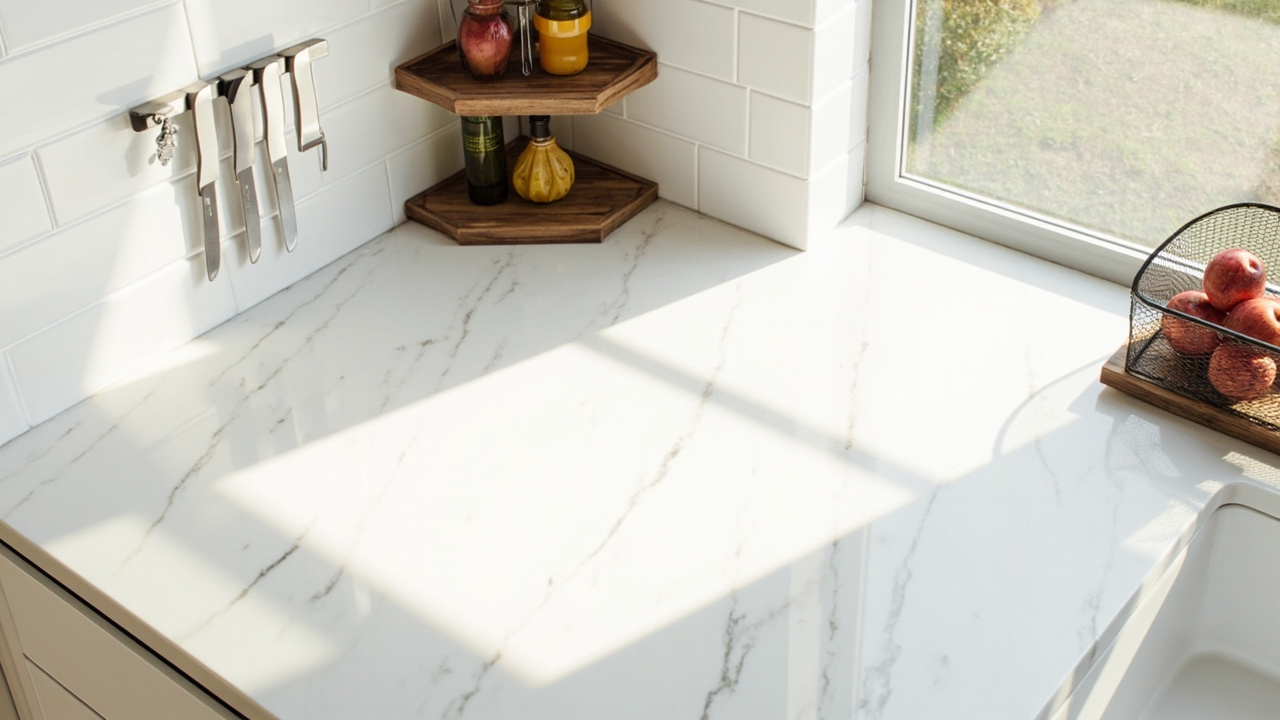
The kitchen counter is the only 100% visible storage surface — every other zone (cabinets, drawers, pantry, under-sink) has a door to close. Most kitchens run 80/20 — that’s the visual chaos problem. This guide covers the 5-Surface Zone Method + the 3-bucket sort + the 60/40 visible/hidden rule + Layout by Counter Size + 4-scenario Constraint Guide + 5 common mistakes + weekly reset. Sister cross-links: kitchen-cabinet, kitchen-under-sink, kitchen pantry, spice organization, small kitchen.
Why Countertops Overflow
Three forces push items onto the counter: laziness (reach for coffee maker vs walk to pantry), display (apples in a bowl, decorative oil bottles), and active use (dish rack when hand-washing). The KonMari reframing: does this item earn its visible surface? Most items fail this test. The fix is the 3-bucket sort first, then the 5-Surface Zone map.
Sort by Category: The 3-Bucket Method
Before adding any organizer, sort everything on the counter into 3 categories.
Bucket 1: Daily (keep on counter)
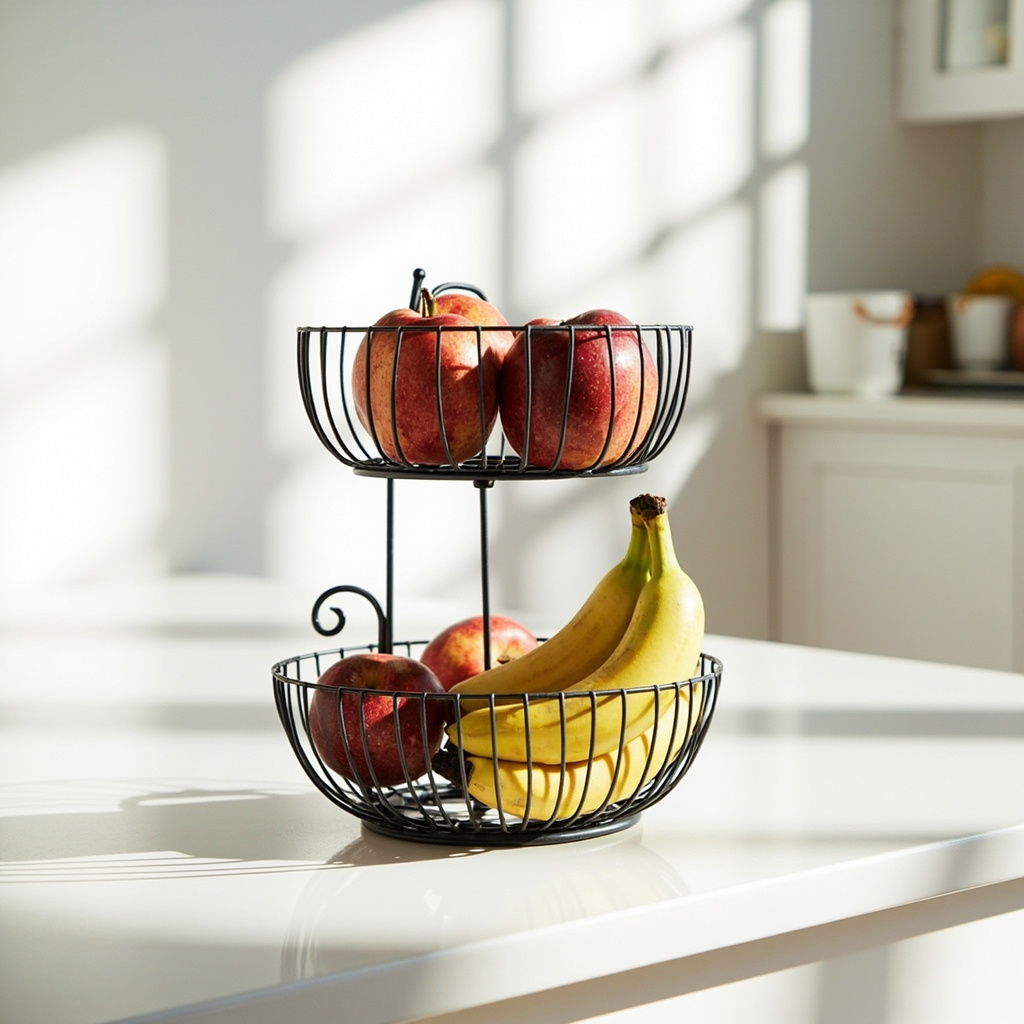
Used 5+ days/week. Examples: coffee maker, magnetic bar, dish soap, salt + pepper, fruit basket. Maximum 7-9 items for a standard 30-50 sqft counter.
Bucket 2: Occasional (move to hidden)
Used 1-4 days/week. Examples: stand mixer, food processor, blender, air fryer. Storage destinations: kitchen cabinet organization for hidden cabinet solutions. Apply declutter-fast to cabinets — clears 30-50% more space.
Bucket 3: Pure Decoration (curate to 3-5)
Zero functional use, kept for aesthetic. Examples: decorative bowls, plants, candles. Marie Kondo rule: if you wouldn’t buy it today, remove it. Maximum 3-5 items for visual calm. See KonMari method for “spark joy”.
The 60/40 Rule
60% of items belong in HIDDEN storage (cabinets, drawers, under-sink, pantry) + 40% belong on the visible counter. Most kitchens run 80/20 — that’s why counters look chaotic.
Tools that move items OFF the counter
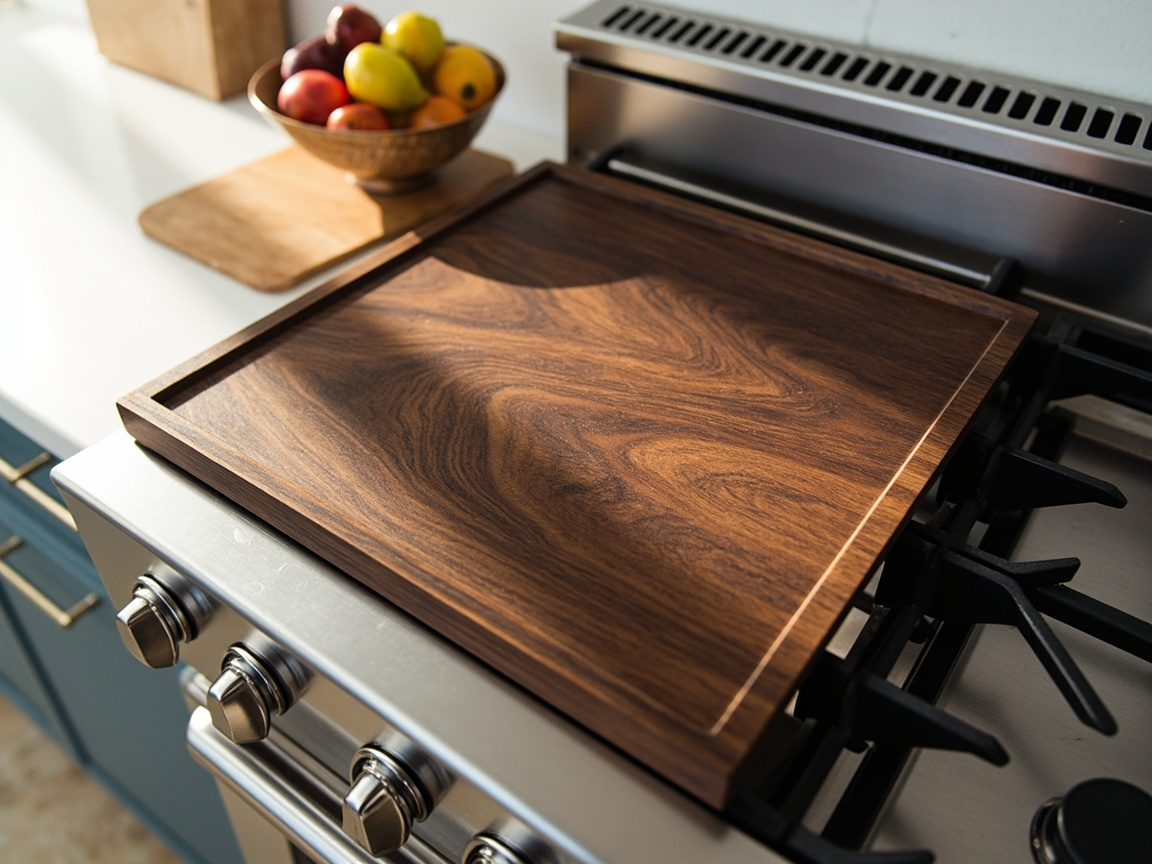
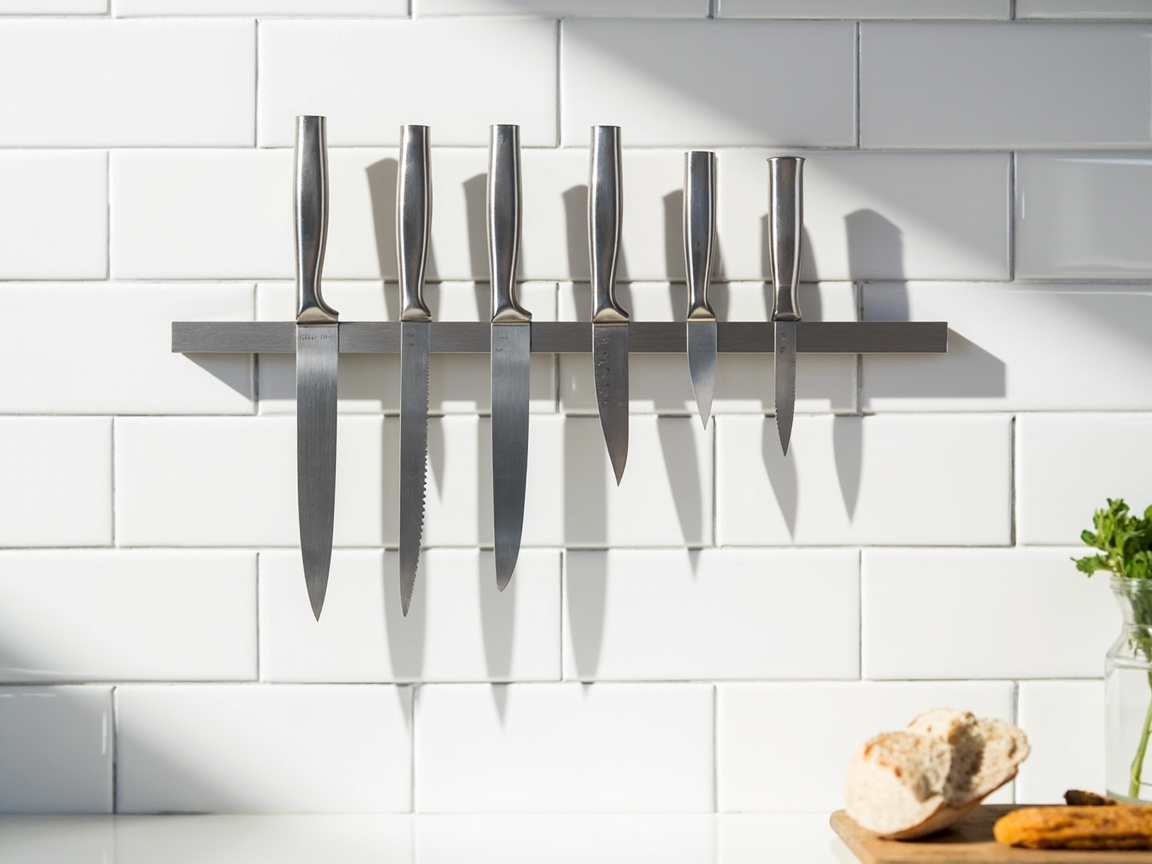
A magnetic knife bar ($17.99) wall-mounts knives + frees the 8-12” knife block. The FUSOUBOTY stove-top cover ($44.99) converts dead stove-top into prep surface.
Tools that move items ONTO the counter (intentionally)
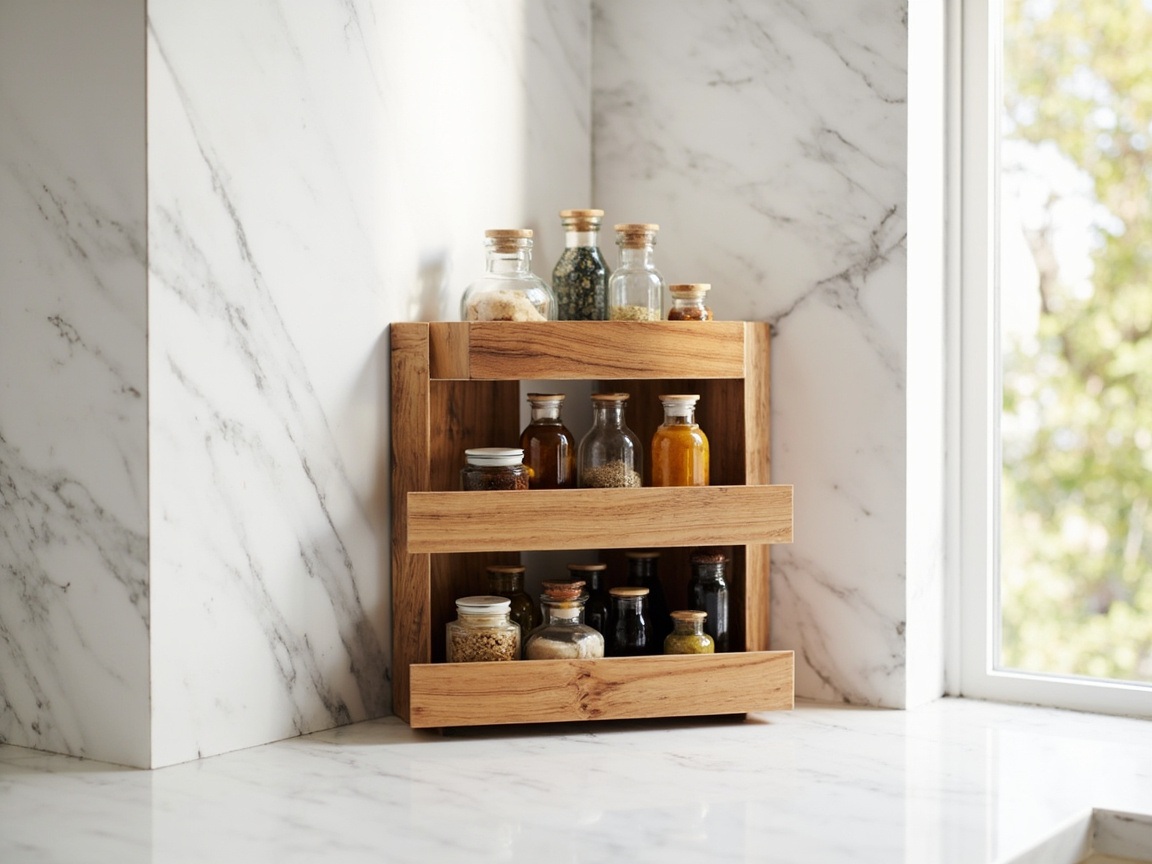
A 3-tier corner shelf ($26.99) adds 2 extra vertical surfaces. A 2-tier fruit basket ($16.99) combines display + function.se shelf organizers](/essentials/how-to-choose-shelf-organizers/) for the broader shelf guide.
The 5-Surface Zone Method
The structured 5-zone layout that maps to any counter size.
Zone 1: Cooking Zone (closest to stove)
8-12” deep. Items: oil + vinegar (in 1 tray), salt + pepper, cooking utensils. Surface: 80% empty. Stove top: covered with a FUSOUBOTY Noodle Board when not cooking.
Zone 2: Prep Zone (next to sink)
12-18” deep. Items: knife block or magnetic bar, cutting board, scraps bowl. Surface: 70% empty.
Zone 3: Coffee/Tea Station (corner)
6-10” deep. Items: coffee maker or kettle, mug tree, sugar + coffee canister. Surface: 50% empty.
Zone 4: Appliance Garage (against wall)
10-15” deep. Items: stand mixer, food processor, blender — appliances used 1-3x/week. Surface: 100% clear (on tray or appliance garage cabinet). Decision rule: 4+ days/week = Zone 1-3; 1-3x/week = here.
Zone 5: Display Zone (least-used corner)
4-8” deep. Items: 3-5 decorative objects (fruit basket, plant, cookbook, candle). Surface: 60% empty — negative space is the point. Anchor: a 3-tier corner shelf + a fruit basket.
Working example: stove-top cover as display anchor
A walnut stove-top cover doubles as prep surface — keeps Zone 5 visually anchored without claiming floor space.
Working example: magnetic knife bar in Zone 1
Stainless knives on a wall bar (Zone 1, above counter) clear the stove-side prep zone of bulky block.
Layout by Counter Size
Small Counter under 30 sqft
Galley, apartment, studio. Apply Zones 1, 2, 5 only — skip 3 + 4. Coffee maker moves under-cabinet on a 3-tier wall shelf. Stand mixer / food processor go INTO cabinets. Target: 60% counter clear. See small kitchen organization.
Standard Counter 30-50 sqft (most US homes)
Apply all 5 Zones with proportional space: Zone 1 (Cooking) 15% | Zone 2 (Prep) 25% | Zone 3 (Coffee) 15% | Zone 4 (Appliance) 25% | Zone 5 (Display) 20%. Target: 50% counter clear.
Large Counter over 50 sqft with island
Apply all 5 Zones + add Zone 6: Buffet/Serving Zone on the island. Island = 60% of total counter. Target: 40% counter clear.
Constraint Guide by Scenario
Four common counter-constraint scenarios.
Rental (no drilling, no permanent changes)
Skip magnetic knife bar (screws into wall) + adhesive hooks. Use a tiered corner shelf (just sits), fruit basket (no install), stove cover (just rests). All 4 affiliate products are rental-friendly.
Tiny counter under 20 sqft or no-counter kitchen
Apply only Zones 1 + 5 — fold Prep into Zone 1. Move ALL appliances into cabinets, even daily-use. Adopt a stove-top cover — the FUSOUBOTY turns 12” of dead stove into active workspace. See small kitchen organization + kitchen pantry.
Heavy cooking household (5+ meals/week from scratch)
Allow more items in Zone 1 — up to 12-15 items for active cooks. Display Zone shrinks to 2-3 items (or zero) — visual calm sacrificed for functional efficiency.
Aesthetic priority (curated / magazine-style kitchen)
Display Zone expands to 6-8 items but ALL must be intentionally chosen. Counter must read 70%+ empty. See KonMari method.
Common Mistakes
Five counter-organization mistakes that ruin 95% of setups:
-
Treating the counter like hidden storage. Stacking items in piles creates permanent visual clutter. Fix: sort into the 3 buckets FIRST.
-
Using the counter as the default zone. Every item that lands on the counter is a decision — does it earn visible space? If no, find HIDDEN home.
-
No zone system. Random items scattered everywhere. The 5-Surface Zone method prevents this — every item has 1 designated zone.
-
Mixing decor with daily tools. Fruit basket + bowls + cookbooks + tools in same 2-sqft area looks chaotic. Fix: tools in Zones 1-3, decor in Zone 5.
-
No weekly reset. Counters accumulate fast. Spend 5 minutes every Sunday resetting to the 5-zone baseline.
The Weekly Counter Reset
The 5-min Sunday habit.
- Clear — move everything to the dining table (60s).
- Clean — wipe the empty counter (90s).
- Audit — for each item, ask Daily/Occasional/Decoration (60s).
- Reset — return each item to Zone 1-5 (60s).
- Stage — straighten, fold towels, refill soap (30s).
Why it works: prevents the slow accumulation that turns into a 4-hour Saturday project. See declutter-fast method.
For kitchen context, see the kitchen hub and our kitchen-cabinet organization, kitchen under-sink organization, kitchen pantry, spice organization, and small kitchen organization. The method is declutter-fast; the spark-joy judgment is KonMari method. For shelf selection, see how to choose shelf organizers.